The Art of Staging Product: Elevating Your Product Photography
The world of e-commerce is becoming more and more competitive with every passing year. To stay ahead of the competition, you need to focus heavily not only on product photography but also on product staging. It is because, when done right, this can truly captivate the audience and encourage them to make a purchase.
Wondering what exactly is product staging and how to do it? Well, this guide is for you. In this article, we will guide you about the essentials of product staging along with the valuable tips and techniques to help you elevate your product photography.
Part 1: What is product staging?
Product staging is the art of arranging products in a way that not only highlights their best features but also tells a story. By carefully considering elements like background, lighting, and props, you can enhance the overall appeal of the image and transform a simple product shot into a compelling visual narrative.
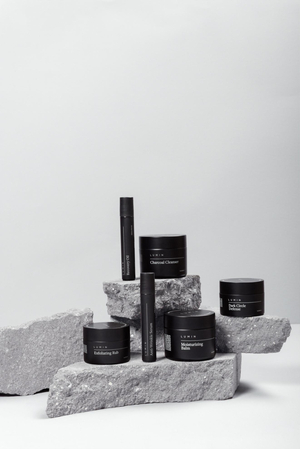
You might be wondering how this enhances product photography, so let me tell you that by properly staging a product, you can showcase it in the best light. When there's a proper light and elements complementing the product, it will:
- Draw attention to key features
- Create a mood or atmosphere
- Provide context for the product's use
- Increasing overall visual appeal
Part 2: Understanding Product Staging Backgrounds
1. The Role of Backgrounds in Product Staging
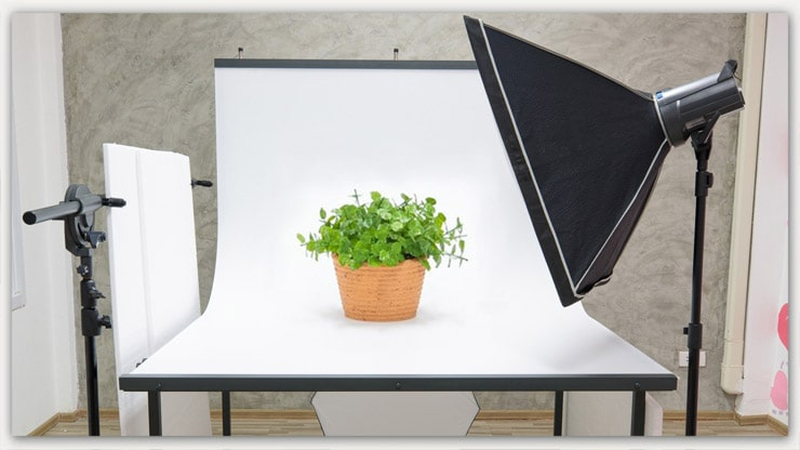
A significant element of successful product staging is selecting the right background. A right background usually sets the tone for the entire image and elevates a simple item to new heights. On the other hand, a poor choice can detract from even the most stunning product.
Therefore, when selecting the product staging background, make sure it is complementing the product and overshadowing it. For instance, a minimalist background works well for high-end, modern products, while a natural background can be ideal for eco-friendly or handmade items. In short, the background should enhance the overall aesthetic and appeal of the product.
2. Tips for Creating a Cohesive Look with Backgrounds
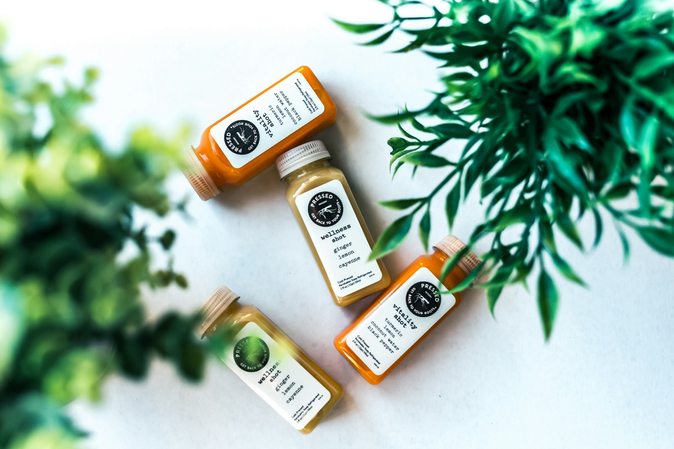
- Choose a background that matches the colors of your product, but make sure there's enough contrast to make the item stand out.
- Don't be afraid to experiment with different textures like wood, marble, or fabric. It can create a visually interesting background.
- Avoid cluttered backgrounds, as this can cause distraction. Alternatively, use a clean and minimalistic background to let your product shine.
Remember to be consistent while choosing the background image, as this can create a cohesive brand image across your product line.
Part 3: Creative Product Staging Ideas
If you're looking for some inspirational and creative ideas to take your product photography to the next level, here are a few:
1. Seasonal and Thematic Staging

Usually, seasonal themes can breathe life into your product photos. For instance, if you are selling warm clothes or home décor items, a cozy winter setting would work great. Similarly, for outdoor products, a summery beach backdrop could be a perfect option. Additionally, incorporating seasonal elements like autumn leaves or spring flowers helps add relevance and timeliness to your product staging photography.
Therefore, make sure to align your product staging photography with seasons or themes to create timely, relevant images. For example:
- For summer, you can stage beach products with sand and seashells.
- For winter, cozy textures and warm lighting for indoor items would be perfect.
- For holidays, you can incorporate festive elements like ornaments or gift wrap.
2. Utilizing Props and Accessories
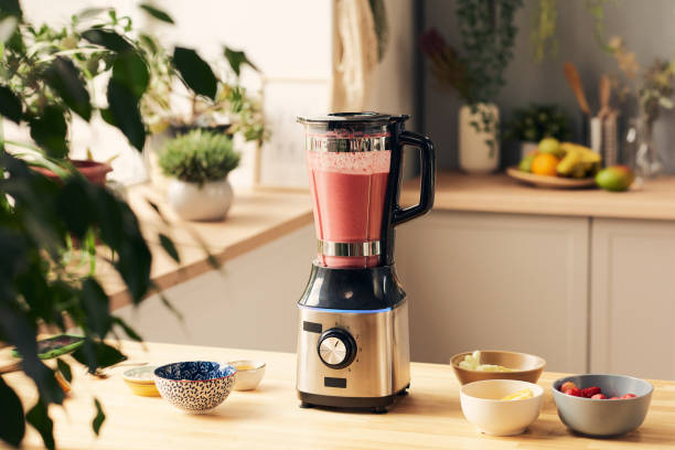
Props are essential for storytelling in product photography. It is because they add context and interest to your product photos. However, choosing the right prop and accessories is necessary, or it can be a massive mismatch.
Therefore, when choosing props:
- Ensure they complement the product without stealing the spotlight.
- Use items that make sense with your product's purpose.
- Consider scale; props shouldn't dwarf or diminish your main item.
For example, if you're photographing a kitchen appliance, surrounding it with fruits, vegetables, or utensils can provide context and enhance its appeal.
3. Essential Photography Tips

To capture your staged product perfectly:
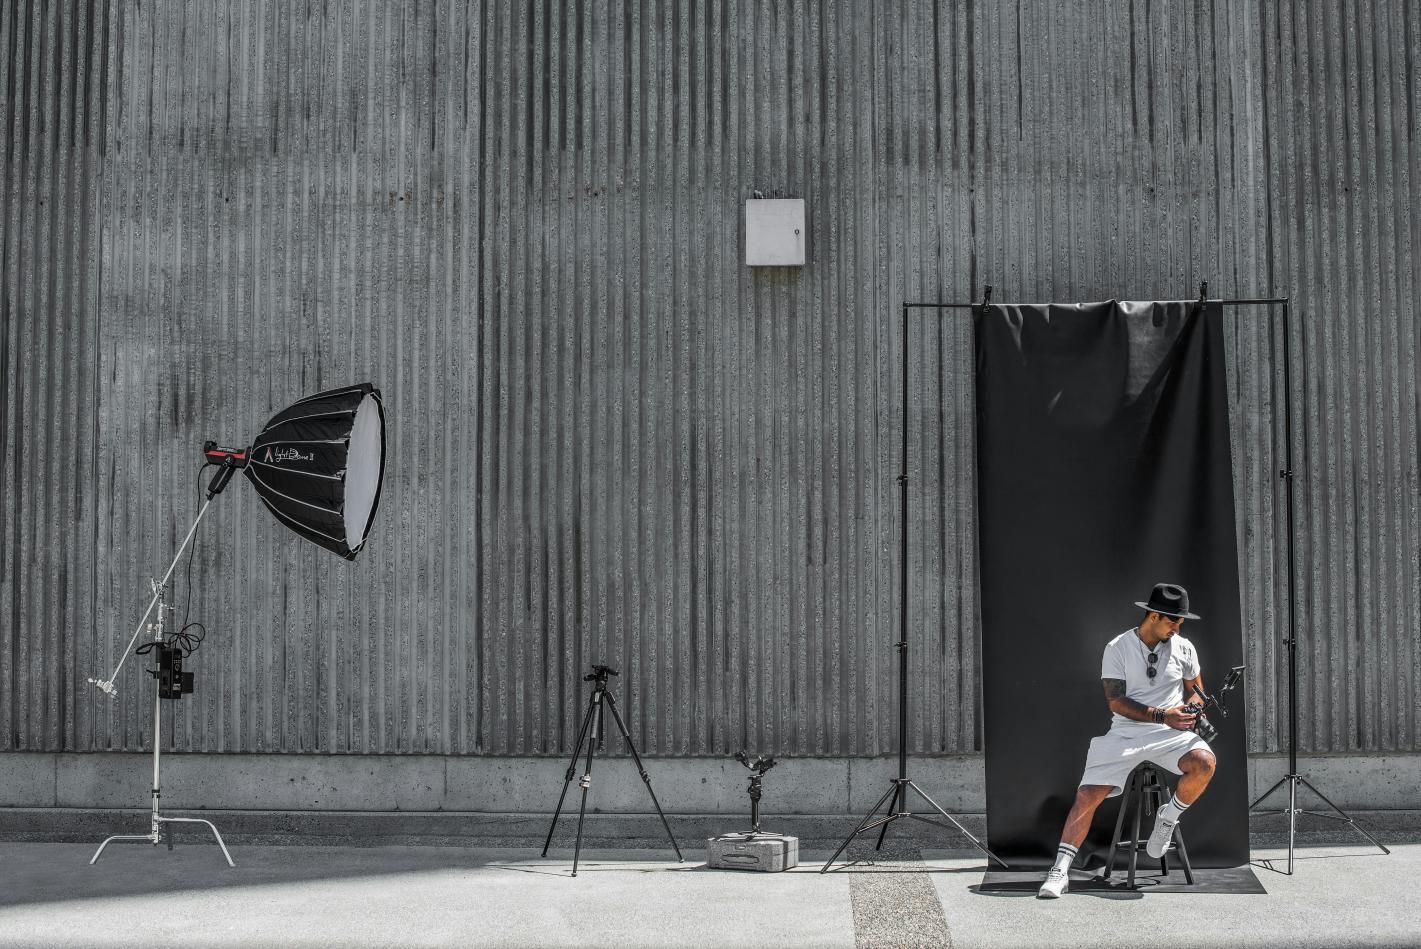
- Use a tripod for sharp, consistent images.
- Experiment with different angles to find the most flattering view.
- Take multiple shots, adjusting small details between each
- Pay attention to focus; ensure your product is crisp and clear.
- For intricate products, take close-up shots to highlight details like texture or craftsmanship.
4. Lighting and composition techniques

Lighting is one of the most crucial factors in staging product photography. Here are some tips to make your photograph standout.
- Try using natural light as it provides a soft and flattering look.
- If you have to use studio light, use a reflector to bounce light and soften shadow.
- Avoid harsh shadows
- For artificial lighting, invest in a good set of softboxes.
In terms of composition:
- Follow the rule of thirds to create balanced, interesting images.
- Use leading lines to draw the eye to your product.
- Create depth by placing some elements in the foreground and others in the background.
- Play with reflection or add a slight shadow to a more dynamic and professional look.
Part 4: Bonus Tip to Perfect the Product Staging Photography
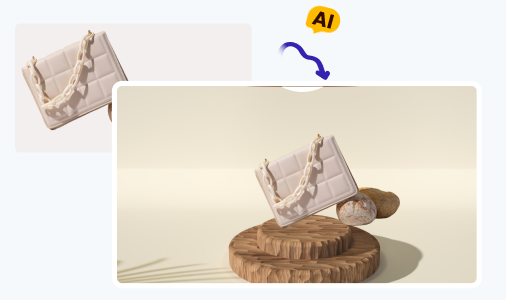
Even with careful staging, sometimes your photos need a little extra polish. That's where HitPaw FotorPea comes in. Powered by AI, this powerful photo editor can further enhance the visual appeal of your image in just a few clicks.
Besides this, you can also use it to remove or change the background, and the best thing is, it is easy to use and doesn't require any technical knowledge to operate it.
Some of the key features of HitPaw FotorPea include:
HitPaw FotorPea - All-in-one Photo Editing Tool for Win & Mac
Secure Verified. 212,820 people have downloaded it.
- AI enhancement to make product details clear
- Background removal to change product photo background
- Color correction to make product photo stunning
- Easy-to-use interface for new beginners to edit photod
- Batch processing to enhance e-commerce photos in a batch
Secure Verified. 212,820 people have downloaded it.
How to make product photo background stand out:
Wondering how to remove and change your product photo background with HitPaw FotorPea? Follow these steps:
Step 1: Download and Install HitPaw FotorPea
Visit the official website of HitPaw FotorPea and download it on your window your Mac. Then Install the software following the on-screen instructions.
Step 2: Launch the software and upload photo
Now, launch HitPaw FotorPea and in the main menu, click on “BG Remover”. Then click on “Start Remove” and select the photo from your device.

Step 2: Let the ai do its work.
Once you have selected the photo, the software will take few seconds to process it.
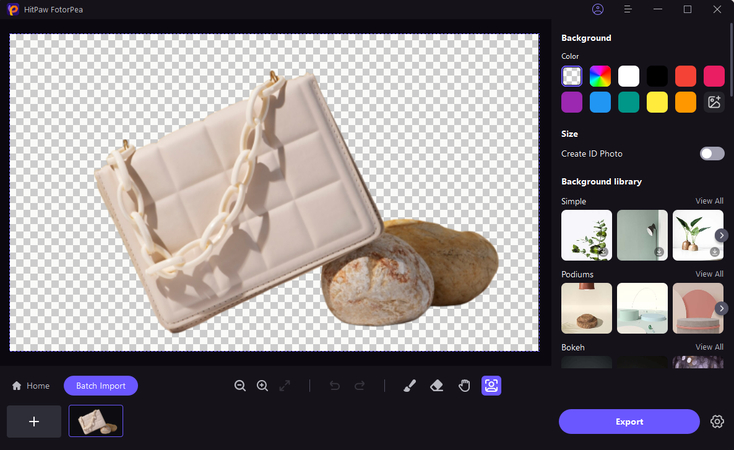
After completing the processing, the powerful ai algorithm of HiPaw FotorPea will automatically detect the background and remove it.
Step 3: Use Brush tool to fine-tune image
Modify the changes and adjust the areas of the images using brush tool. To make it easy to you, it has the option to resize the brush.
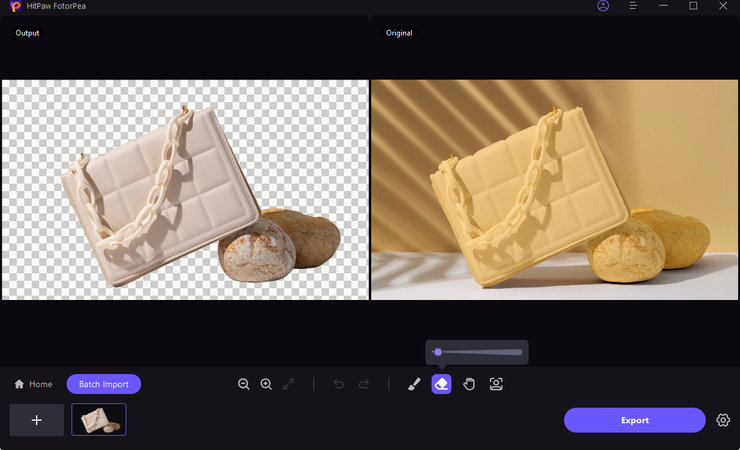
Step 4: Refine the removed areas using eraser tool
Fine-tune the parts of the image using the eraser tool. You can adjust the size of eraser for more precise refining.
Step 5: Pick a new background color
It's time to add a new background. Choose the color you want to select as the background. But generally for a product images, white is highly recommended.
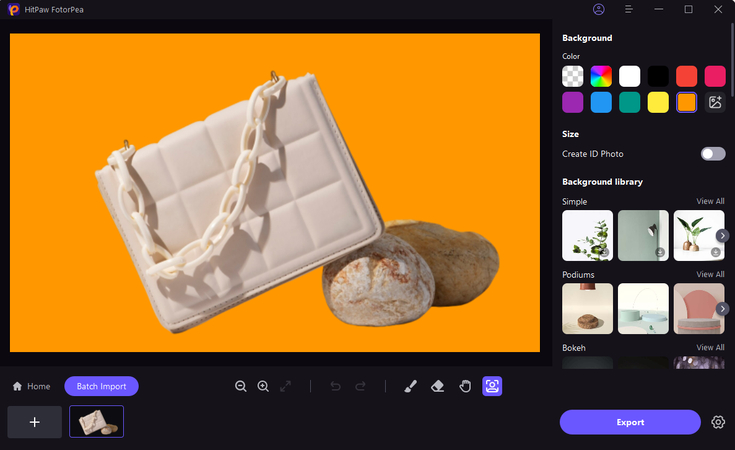
Step 6: Export the Image with a new background
If you are satisfied with all the changes, click on "Export" and download your edited image.
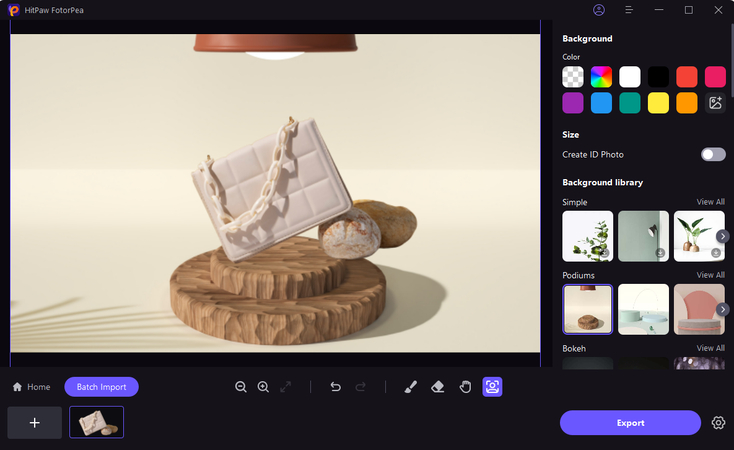
This is the ultimate guide of HitPaw FotorPea
Part 5: FAQs about Staging Product Photos
Q1. How many products should I include in one staged photo?
A1. Generally, focus on one main product per photo. Multiple items can clutter the image and confuse viewers.
Q2. Do I need expensive equipment for product staging?
A2. No, you can do it with a simple camera as well. All you need is good lighting and a creative approach.
Conclusion
Effective product staging can significantly boost your marketing efforts. By carefully selecting backgrounds, using the right props, perfect lighting, and composition, you can create images that not only showcase your products but also tell a compelling story about your brand.
Remember, the goal is to create photos that make your brand stand out from the competition and encourage the buyers to make purchases. To achieve this, follow the tips and techniques as discussed, and for final touches, don't forget to use HitPaw FotorPea. Powered by an advanced AI algorithm, this amazing tool ensures your products always look their best.


 HitPaw Univd (Video Converter)
 HitPaw VoicePea
  HitPaw VikPea (Video Enhancer)


Share this article:
Select the product rating:
Daniel Walker
Editor-in-Chief
My passion lies in bridging the gap between cutting-edge technology and everyday creativity. With years of hands-on experience, I create content that not only informs but inspires our audience to embrace digital tools confidently.
View all ArticlesLeave a Comment
Create your review for HitPaw articles