How to Take a Night Photo: Tips and Techniques for Stunning Nighttime Photos
Shooting at night has problems on its own because it is dark, and this makes it hard to get details, noise, and sharpness. But if you want to take truly beautiful shots of scenes at night, you can bypass all these problems with the help of equipment, settings, and techniques. In this guide, you will learn detailed information on how to photograph at night and helpful tips on the kind of equipment to use, how to shoot, and the image enhancement required.
Part 1: How to Take Nighttime Photos with Essential Equipment
That shows that night photography is dependent on having the right equipment. Here's a breakdown of the key equipment you'll need for how to take a night photo:
1. Camera Settings to Take Night Photos
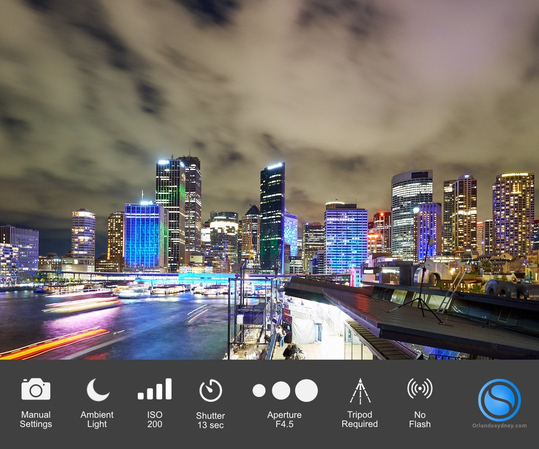
You want a camera with manual controls when it comes to taking pictures at night. ISO, aperture, and shutter speed will have to be fully under your control to capture the exposure. DSLRs and mirrorless cameras should be used for nighttime photography as they enable you to adjust these categories to capture better night photographs.
2. Lenses for Low-light Conditions at Night
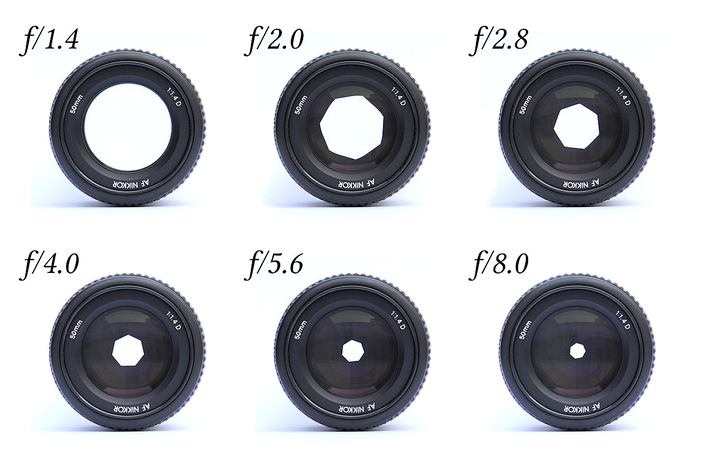
That is why it should be very clear which lens to use when finding out how to take nighttime pictures. A lens with a large aperture – between f/1.4 and f/2.8 – will allow more light onto the sensor, eliminating, to a certain extent, the necessity for ISO, which adds noise. A prime lens, which cannot be zoomed in and out, has an unmatched advantage when shooting in a low-light environment.
3. Sturdy Tripod for Stability in Night Photography
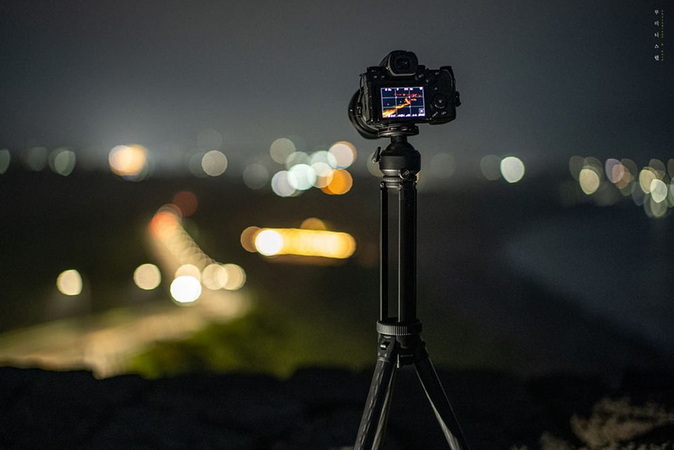
The bigger the stability of night photography is, the better it will turn out. A good tripod is important to support your camera motionless, especially when applying slow shutter speeds while taking photographs at night. To be more precise, if a cameraman is not using a tripod, a simple camera shake can lead to a motion blur, and that's it. Nothing will help you a lot if you are working on taking good night photos other than using a tripod.
Part 2: Techniques on How to Take Nighttime Photos
When you now have the appropriate equipment, the following step is all about learning how to capture better images in the dark. Here are some critical tips:
1. Low ISO Settings
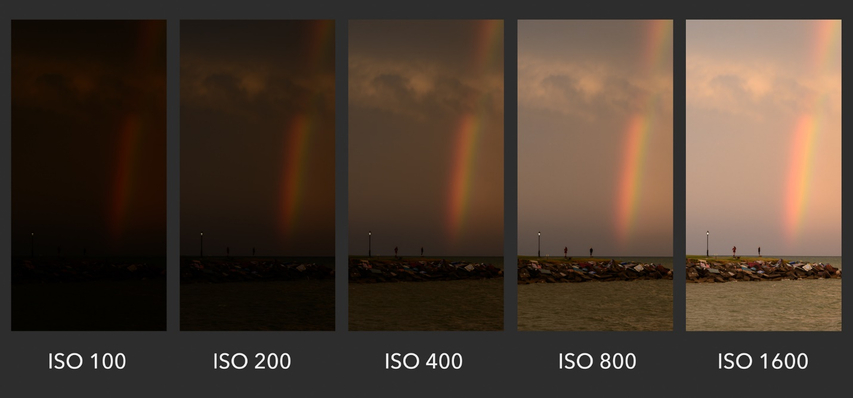
When it comes to grainy photos, the best thing to do is to try to use the lowest ISO setting that will yield good exposure. Higher ISO settings bring in noise, which is very undesirable at night. Thus, you need to keep the ISO low so that the image you take is clear and does not have any blurring.
2. Shoot with RAW
Photography using the RAW format means that all the data is captured, ensuring that the photographer has greater control. This comes in handy when doing night photography because it helps a photographer bring out details that are hidden in darker or brighter areas of the photo when working with compressed formats such as JPEG.
3. Lower Your Aperture
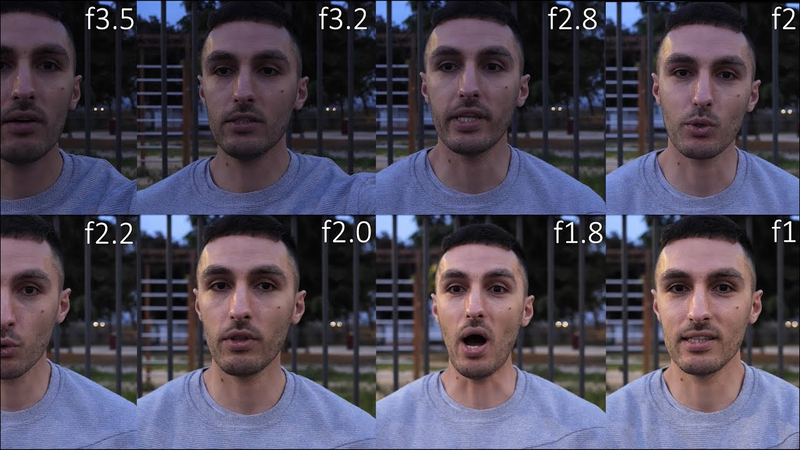
Reducing your aperture to f/1.8 or f/2.8 will let more light into the lens, which is important for night photography. But it is also important to know that a very low aperture also limits the depth of field and makes only a small part of your image sharp. As with most things in life, moderation is the word when it comes to learning how to take pictures at night.
4. Slow Shutter Speed
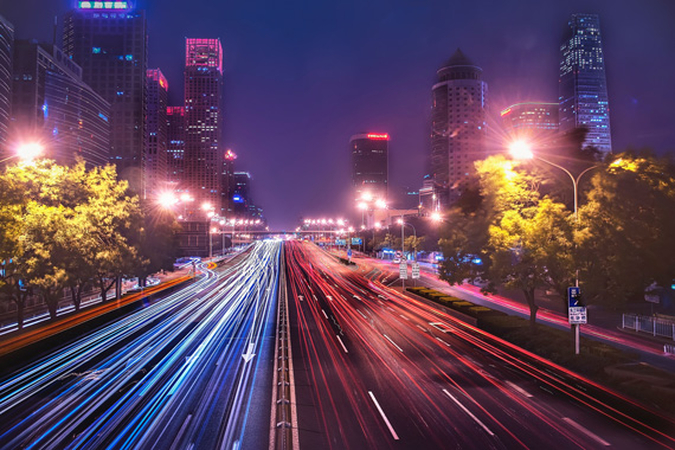
That's why, for instance, a slow shutter speed assists in increasing a dark scene because more light is permitted on the sensor. However, it also raises the risk of camera shake, which is why a tripod is still vital. You should try a number of night photographs by using slower shutter speeds in order to learn how to do night photography properly.
5. Shoot in Bulb Mode
Bulb mode is a mode with which you are allowed to set the duration of exposure yourself as compared to the time always set by the camera. This becomes helpful in photographing celestial objects at night or even lighted buildings within a city. This feature is useful for photography at night with an extra creative bonus in the form of light trails or stars.
6. Test Shots if Possible
To get the right values for the lighting conditions, it is important to take a test shot. This way, you will have honed your skills and know what is right for the particular location you are in when taking night photos, and you will be at ease with how to do it.
Bonus Mention
Post-processing is also particularly important because, during the night photos, a number of problems can occur, such as underexposure or noise, which should be eliminated using post-processing tools. Here's how to enhance your images and improve how to take a better night photo during editing.
Part 3: Post-Processing Tips to Enhance Night Photos
There are issues you may meet when taking night photos, such as increased chroma noise, low contrast, or improper exposure. These ones can reduce the quality of the photo, but with the right post-processing software, they can be easily corrected.
Regarding night photos, there is one highly recommended software for improving night photos - HitPaw FotorPea. This one comes equipped with features such as brightness, contrast, and color balance options, all very important qualities that enhance the quality of your pictures.
Key features that will enhance night photography:
HitPaw FotorPea - All-in-one Photo Editing Tool for Win & Mac
Secure Verified. 212,820 people have downloaded it.
- Adjusting brightness as an AI Photo Editor
- Contrast adjustment to enhance night photos
- Color balance to fix nighttime photo issues
- Best AI photo editor available on Win & Mac
Secure Verified. 212,820 people have downloaded it.
Step-by-Step Guide for Enhancing Night Photos with HitPaw FotorPea
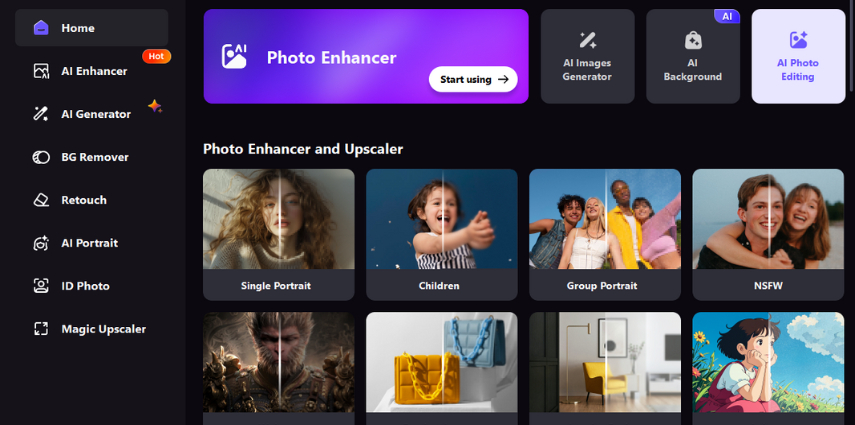
Step 1. Upload Your Image to Edit
Install the software and then enter the AI Photo Editing Tool. Then upload the photo you want to enhance.
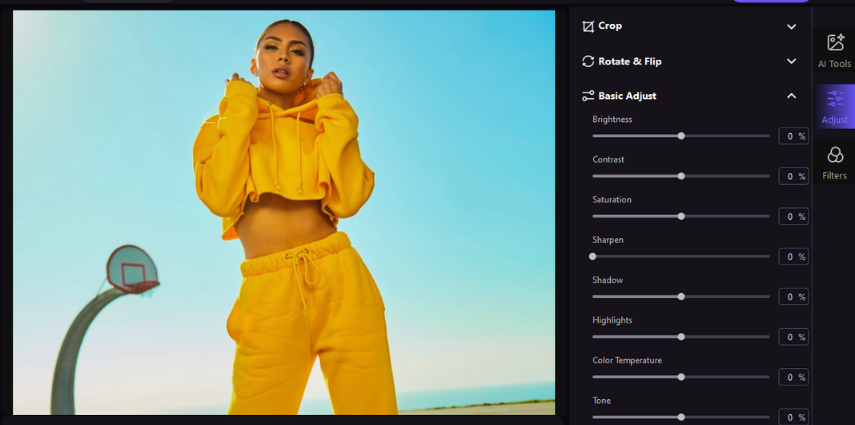
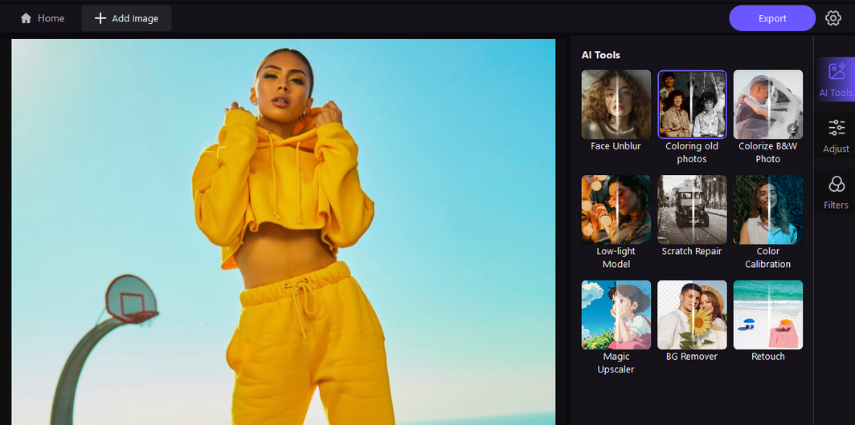
Step 2. Adjust Brightness for Night Photos
Choose the Adjustment tool to adjust brightness, which could light your photos.
Step 3. Boost Contrast and Fine-tune Color Balance
If it's still blurry or the color is unbalanced, try with the Contrast and Color Temperature tool.
Step 4. Reduce Noise
When the night photo is too many noisy, go to the AI tools and try with Low-night model or AI enhancer tool with noise reduction model.
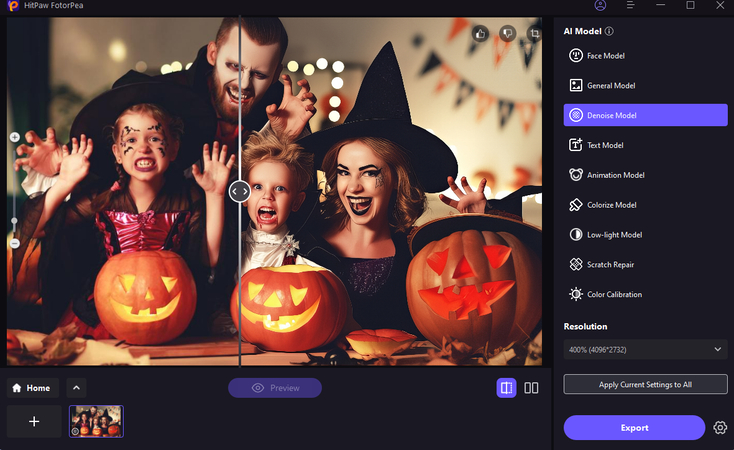
This is the ultimate guide of HitPaw FotorPea
Conclusion
Learning how to capture photographs during the night entails the proper use of photography equipment and proper methods. Not a single shot of the Milky Way is taken without much effort, starting from the choice of the right ISO and aperture and ending with the long exposure shot with a very stable tripod.
Remember, post-processing is also as crucial as preprocessing in carving something creatively out of a photograph, and with tools like FotorPea, Now available as HitPaw FotorPea, the whole process becomes a lot simpler. Taking nighttime photos does not have to be something you dread.


 HitPaw Univd (Video Converter)
 HitPaw VoicePea
  HitPaw VikPea (Video Enhancer)

Share this article:
Select the product rating:
Daniel Walker
Editor-in-Chief
My passion lies in bridging the gap between cutting-edge technology and everyday creativity. With years of hands-on experience, I create content that not only informs but inspires our audience to embrace digital tools confidently.
View all ArticlesLeave a Comment
Create your review for HitPaw articles