Photographing Annular Solar Eclipse: Stunning Photos and Tips
Photography annular solar eclipse is a unique entity as you'll have to look at several aspects to create the remarkable images of the solar eclipse. If you're looking to learn about the perfect camera requirements and direction while clicking the Solar eclipse images, you've reached the right destination. Apart from listing the key factors for the soler eclipse, we'll also introduce how to photograph annular solar eclipse.
Part 1. Key for Photographing Annular Solar Eclipse
Take a look at the following camera setups and settings if you want to capture the ambiance and specifics of the solar eclipse.
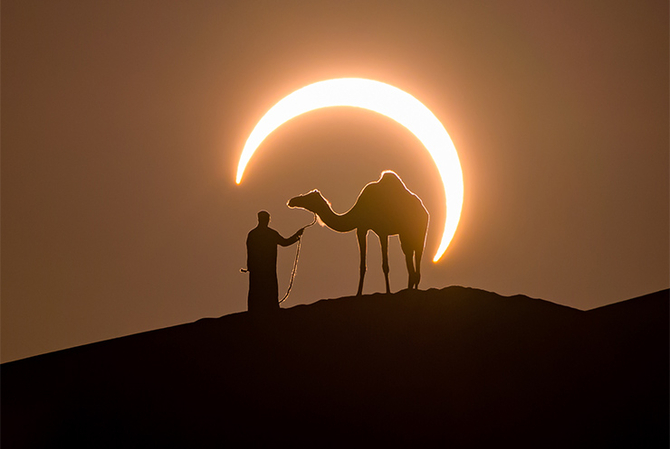
1. ISO
It gets started with a low ISO setting like 100-400. Opting for these settings will help you reduce the image noise offering the smooth short of the annular solar eclipse images. Shutter speed Solar eclipses could come up with different brightness in the different phases.
If you're clicking the photos in the partial phase, you'll need to rely on the shutter speed between the 1/4000 and 1/1000 to prevent getting affected by overexposure. You can set the shutter speed to the 1/250 provided if you're clicking images during the eclipse's peak.
2. Aperture
Opting for the moderate aperture like f/8 to f/16 will offer the sharp image ensuring that the sun and atmospheric details are in focus. If you want to aim the eclipse's ring clear, going for the fl11 aperture is also recommended.
How to create time-lapse sequences or multiple exposures?
1. Time-lapse photography
If you want to document the annular eclipse's progression from the start to finish, going for the time lapse photography won't be a bad option. To produce the time-lapse, you'll need to rely upon the intervalometer of the camera to click the images at intervals during the eclipse.
You can begin creating the images a few minutes before the arrival of the eclipse on the sun, containing the intervals of the 30 seconds to 1 minute between shots. When the duration of the eclipse goes ahead, you can decrease the intervals to 10-15 seconds during the eclipse's peak moment to capture more details.
Since the camera remains stationary for an extended period, you'll need to use the sturdy tripod to prevent any movement in the time-lapse process. If you want to prevent the fluctuations in the brightness during the shots, you can use the manual exposure settings. You can now set the camera with the same aperture, ISO and shutter speed throughout the smooth transition sequence.
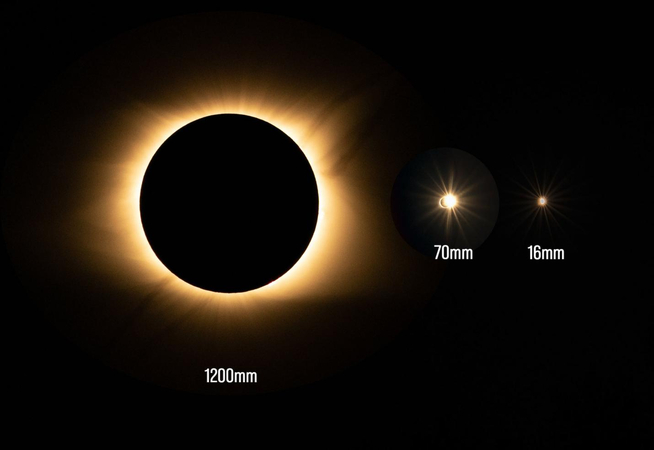
2. Multiple exposure
If you're willing to capture the eclipse's several phases in a single frame, you'll need to click the individual shots of the significant stages of the eclipse, including the ending, maximum, and partial time. During the post-processing, you can layer the images in photo editing software to produce the composite showing the ensure eclipse cycle.
Part 2. Best Locations for Photographing Annular Solar Eclipse
Annual solar eclipse appears when the moon goes too far from the Earth to cover the sun completely. To click the photograph of the eclipse will be in the areas where you can see the annular eclipse. If you're interested in exploring the best locations for photographing an annular solar eclipse, you can look at the locations given below.
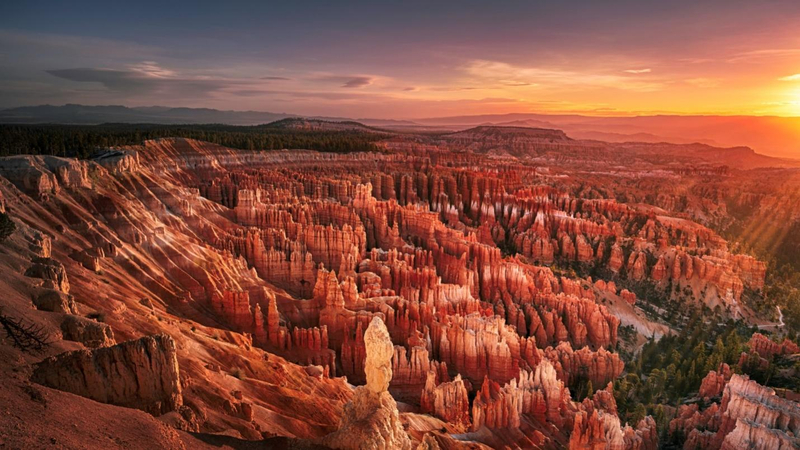
1. Remote areas and natural parks
Natural parks falling the path of the annular solar eclipse will be excellent locations for creating the eclipse's dramatic images. You can also go to locations like Arizona's Grand Canyon and Utah's Canyonlands to access the best eclipse images.
2. High altitudes
The regions like the Rocky Mountains and Himalayas areas offer less atmospheric interference offering a clear view of the sky and well-defined eclipse shots.
3. Desert Locations
The clear skies and dry areas like the Sahara Desert or Nevada's black rock desert are amazing conditions for gaming images of eclipses without clouds interfering with the view.
Part 3. The Best Tool to Generate Annular Solar Eclipse Photos with HitPaw FotorPea
If photographing annualar solar eclipse doesn't help you create and access reliable images, you can go for the HitPaw FotorPea to generate the solar eclipse images automatically. With this tool, you've got the leverage to explore several image styles and designs, and only entering the text description will be enough to produce highly efficient images.
The quality in which HitPaw FotorPea tends to create the images is remarkable and you won't see the watermark appearing on the exported images provided you've got the premium package of the HitPaw FotorPea.
Features
- Lets you to generate the annular solar eclipse images quickly
- Prompts simple user interface
- No image quality loss detected
- No watermark found
- Amazing styles and designs to choose from
- Create the images in exciting quality
- Offers the free version
- Explore the affordable premium package
How to generate the annular solar eclipse images with HitPaw FotorPea?
Step 1: March into the official timeline of the HitPaw FotorPea and then hit the Download button to get the software downloaded. After installing the software, you'll need to launch the software and hit the AI Generator button to start the process of image creation.

Step 2: Navigate to the Type What You want to see a window and then type in the description of what you wish to create. If you want to opt for the more efficient text description, you can hit the Replace Image button to access the built-in text description.
You've got the opportunity to import the existing images from the computer into the HitPaw FotorPea and apply the amazing styles to create attractive annular solar eclipse images.
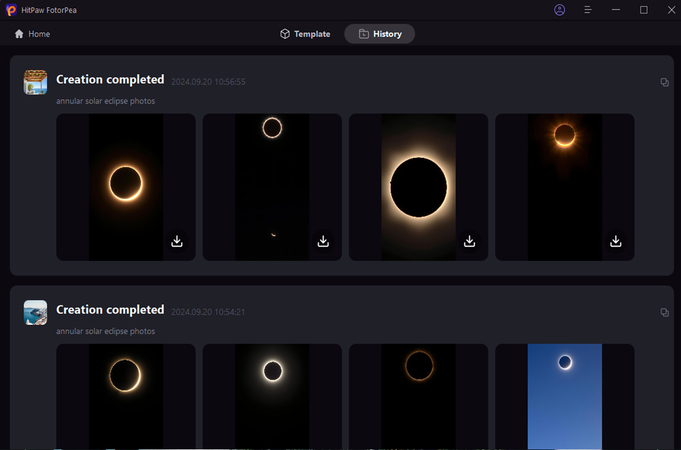
Step 3: After choosing the appropriate text description, you'll need to select the art style, resolution, and image size. Next, you'll need to press the Generate button to begin creating the AI generated images. HitPaw FotorPea comes up with various styles and designs to choose from that make the creation of the image more attractive and efficient. Now, you'll be able to see two images on the screen
Select the most appropriate image and then hit the Download button to export the images to the computer.
Part 4. FAQs of Photographing Annular Solar Eclipse
Q1. What lens is best for an annular eclipse?
A1. If you're looking for the best lens for the annular eclipse, going for lenses ranging between 200mm to 400mm is most recommended. You can also use the longer ultra-telephoto zooms to magnify the corona's details.
Q2. How to watch an annular eclipse without glasses?
A2. You can also watch the annular eclipse without glasses courtesy of the pinhole projector that contains a small opening. It tends to project the sun's image onto the nearby surface. While putting the sun at the back you'll be able to view the projected image of the annular eclipse effortlessly.
In Summary
This post has listed several photographing annular solar eclipse tips in detail. We have listed the key aspects of how to photograph the annular solar eclipse and you can explore the perfect locations to shoot the images of the annular solar eclipse. HitPaw FotorPea is the most recommended tool to generate the images of the annualar solar eclipse automatically. It lets you select from the various styles while creating the images and you won't see the watermark on the generated images.


 HitPaw Edimakor
 HitPaw Univd (Video Converter)


Share this article:
Select the product rating:
Daniel Walker
Editor-in-Chief
My passion lies in bridging the gap between cutting-edge technology and everyday creativity. With years of hands-on experience, I create content that not only informs but inspires our audience to embrace digital tools confidently.
View all ArticlesLeave a Comment
Create your review for HitPaw articles