How to Use Photoshop Pop Art Filter (Step-by-Step Guide)
Pop art is a vibrant and playful art movement, and many people on social media are using this creative way to transform their photos into vibrant, eye-catching artwork. You can also create your own pop art masterpiece using Photoshop, and it's not a difficult part.
Wondering how to create pop art photoshop? This article will teach you everything from creating stunning pop art effects and images in Photoshop to even achieving a pop art look without even needing Photoshop. Sound exciting?
Part 1. How to Make Pop Art Filter in PhotoShop
Let's come to the business. How to make a pop art filter in Photoshop?
1. Convert Image to Black and White Photos

The first step to making a pop art filter photoshop is to convert your selected image into a black-and-white photo. To do this, open the image in Photoshop and duplicate the background layer. Next, navigate to the “image” menu and select "adjustments." Now, adjust the sliders to enhance contrast between different areas, and then click OK to apply the changes.
2. Increase the contrast and change the layer blend mode
To further enhance the contrast in your image, it will require another adjustment layer. For that, go to "Image" > "Adjustments" and choose the "Levels". In the level window, make sure to adjust the black and white input level sliders inward to maximize the contrast. This will transform the image into a bold and graphic version of itself.
Now, as you have selected the black and white layer, in the layer panel, change its blend mode from “normal” to “multiply”. Next, adjust the opacity if needed to give the picture a balanced look.
3. Coloring the Image to Warhol Effect
Now the fun part, where the actual business happens. At this step, we will add vibrant pop art colors. Here we will create a separate section for each color, and to do this, we'll leverage the power of layers. So, click on “create a new layer,” and after selecting the paint bucket, fill the new layer with a bright, bold color.
You can repeat this process for each area. Remember, pop art is all about bold and contrasting colors, so never be afraid of experimentation. You can use the eraser tool to reveal different color sections. In short, this step will bring your image to life.
4. Continue to add sections via layers for pop color
But that's not all. There's still something left to achieve true pop art essence. For this, you need to create a multi-colored effect, and this can be achieved by duplicating the colored layer. Now, select a colored layer and go to "Layer" > "Duplicate Layer". This will create a copy of the color layer, and you will be able to reposition or even modify it to get a more dynamic effect.
Part 2. Photoshop Pop Art Tutorial for Poster
Now that you have mastered the basics of converting a single image into a pop art photoshop, it's time to go one step further and create a pop art poster with multiple color variations.
To do this, first select the images that you want to use in the poster. While selecting, make sure to choose those that complement each other in terms of colors and themes.
1. Duplicate Your Original Image:
Now, duplicate your image by selecting the base image layer.
Press Ctrl+J (Cmd+J on Mac) three times to create four identical layers.
2. Arrange the duplicates:
Next, go to Image > Canvas Size and double the width and height of your canvas.
To position each duplicate in a quadrant, use the move tool.
3. Apply Different Color Schemes:
Now select each quadrant layer and follow the coloring steps from Part 1.
Use a unique color palette for each quadrant to achieve a playful pop art aesthetic.
4. Add text and finishing touches:
To enhance the pop art effect, incorporate text elements using a bold, sans-serif font, as it is typical of pop art. Never be afraid of experimenting with layer styles like Drop Shadow or Stroke for added punch.
Part 3. How to Create Pop Art Style without Photoshop
While Photoshop is a powerful and widely used tool to create pop art style, it can be time-consuming. Besides this, it can be complex for beginners as it requires certain levels of technical skill. But fortunately, AI-powered alternatives like HitPaw FotorPea are here to rescue and make your pop art dream come true.
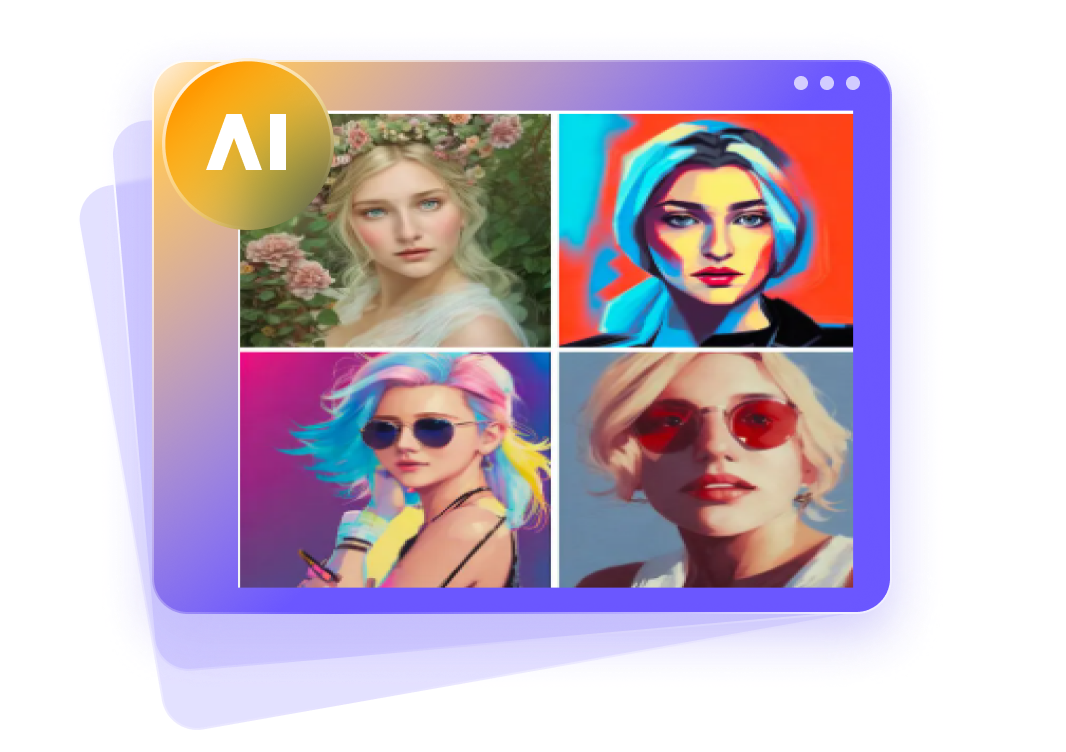
HitPaw FotorPea is an exceptional AI-powered photo editor that offers a range of artistic styles, including pop art. With just a few clicks, you can transform your photos into stunning pop art portraits reminiscent of Andy Warhol's iconic work.
Key Features of HitPaw FotorPea:
HitPaw FotorPea - All-in-one Photo Editing Tool for Win & Mac
Secure Verified. 212,820 people have downloaded it.
- Easy-to-use interface
- Effortless pop art transformation
- Wide range of pre-set pop art styles
- Real-time previews for instant feedback
Secure Verified. 212,820 people have downloaded it.
Wondering how to create pop art with HitPaw FotorPea?
Step 1: Download and install Hitpaw FotorPea
Visit the official website and Download Hitpaw FotorPea. It is available for both Window and Mac.


Step 2: Enter the AI Generator Tab
After Installing Hitpaw following the on screen instructions, launch it and click on AI Generator.
Step 3: Upload the photo of yourself
Now select the Andy Warhol pop art style and click on Generate.
Step 4: Click on Generate
Once selected, click on generate, and after the processing, it will give you the final result. You can either export or generate it again.
Here's a video guide for you to follow to create pop art:
Part 4. FAQs about Photo Pop Art Photoshop
Q1. How to convert a photo to pop art?
A1. You can convert a photo to pop art using Photoshop, as mentioned in step 1. However, if you want quick results, you can do it using AI-powered tools like HitPaw FotorPea.
Q2. Where can I find pop art effect Photoshop actions?
A2. To get the pop art effect, either check Adobe's Creative Cloud marketplace or third-party websites like GraphicRiver. These websites will give you pre-made pop art Photoshop actions.
Conclusion
For Photoshop enthusiasts, creating pop art is a fun activity. In this article, we explored how we can transform photos into vibrant pop art photoshop masterpieces by using Photoshop. This requires manipulating contrast, applying bold colors, arranging images, and more.
However, for a newbie, this can be overwhelming, and if you are not a Photoshop expert, you might find it tough to grasp. Therefore, for those who are looking for a simple and straightforward method, HitPaw FotorPea comes in handy. This AI-powered tool offers a user-friendly alternative, producing professional-looking results in minutes.

 HitPaw Univd (Video Converter)
 HitPaw VoicePea
  HitPaw VikPea (Video Enhancer)

Share this article:
Select the product rating:
Daniel Walker
Editor-in-Chief
My passion lies in bridging the gap between cutting-edge technology and everyday creativity. With years of hands-on experience, I create content that not only informs but inspires our audience to embrace digital tools confidently.
View all ArticlesLeave a Comment
Create your review for HitPaw articles