2025 Full Guide on Editing Wildlife Photos for Detailed Improvements
Wildlife photography is an exciting genre but yet a challenging one. It is because, while capturing nature's beauty, you often come across unpredictable obstacles such as bad lighting and fast-moving subjects. Therefore, to make the wildlife photos truly shine, you often require a bit of post-processing magic.
In this comprehensive guide, we will dive deep into the world of wildlife photo editing, sharing tips, techniques, and tools to help you bring out the best in your images. Besides this, there would be a bonus tip to elevate your wildlife photography game.
Part 1. Essential Tips for Editing Wildlife Photos
In wildlife photo editing, you need to have a keen eye for detail and understanding of the tools you are using. Below, we'll dive into basic adjustments and advanced techniques for editing wildlife photos that will make your photos shine.
1. Basic Adjustments for Wildlife Photos
Starting with the basics is what all the professionals recommend. Let's explore some basic yet fundamental adjustments of wildlife photo editing that can breathe life into your images.
Exposure:
Contrast:
Color Correction:
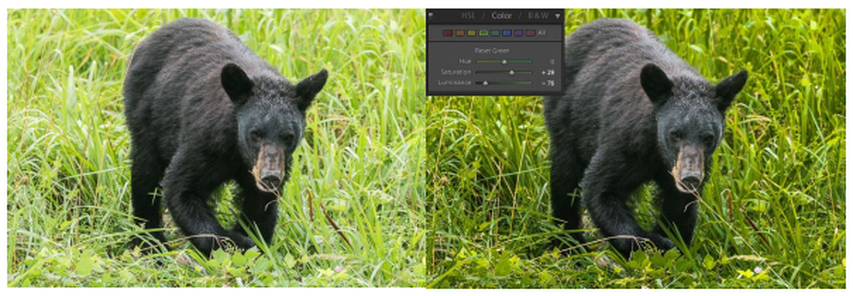
Exposure refers to how much light is captured in the image, and getting it right is crucial in wildlife photography. As most of the time wildlife photos are taken in harsh lighting, it becomes necessary to balance the brightness and shadow.
Therefore, while editing wildlife photos, use the exposure slider to fine-tune the overall brightness of your image. Slightly increasing the exposure in underexposed photos can reveal textures and colors hidden in darkness, while reducing exposure in overly bright images helps avoid losing critical detail.
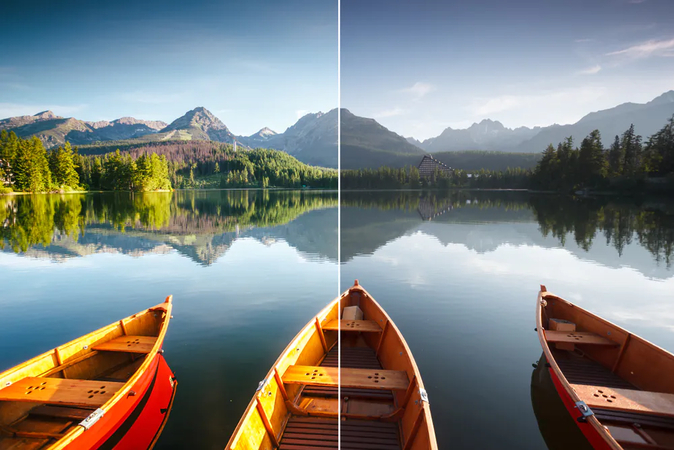
Adding contrast can make your wildlife subjects pop. It makes the subject standout by enhancing the difference between light and dark areas. However, be careful not to overdo it because excessive contrast can lead to loss of detail.
Instead, aim for a well-balanced contrast, and it will give your wildlife shots more depth, making the animal the central focus of the image.
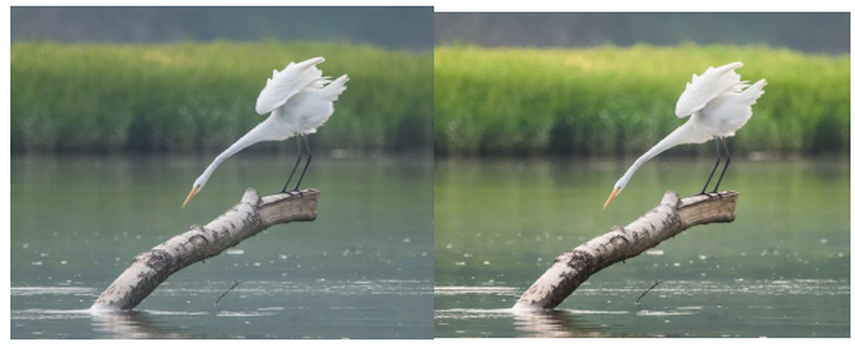
Color correction ensures the hues of nature are accurate. For instance, the green tones in forests or the browns in an animal's fur should feel natural and not overly saturated or dull. Start by adjusting the white balance to correct any strange color casts. Then, fine-tune individual color channels to bring out the natural hues of your subject and its environment.
2. Advanced Techniques for Wildlife Photography
Once you've mastered the basics, it's time to explore some more advanced wildlife photo editing techniques:
Sharpening:
Noise Reduction:
Cropping:
Sharpening is crucial for wildlife photos as it brings out fine details, such as the texture of fur or the intricate patterns on feathers. However, while using it, you need to be extra careful as too much sharpening can make the image look unnatural. Therefore, use a combination of global and local sharpening techniques, but be cautious not to introduce artefacts or noise.
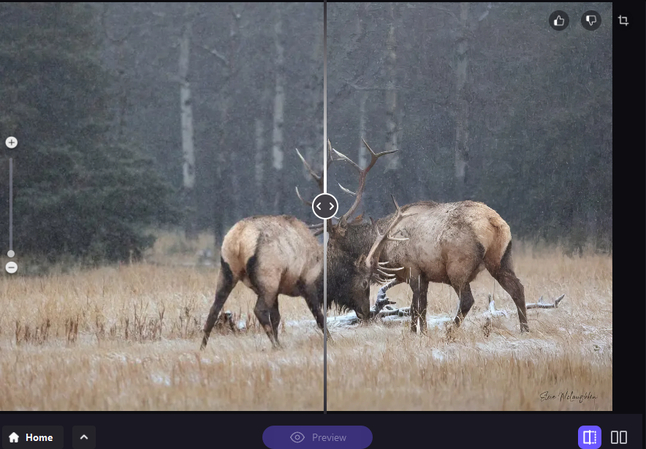
In post-processing, noise reduction is another aspect because it can make the image look grainy and distract from the subject. Particularly in wildlife photography, where high ISO settings are often required due to low-light conditions, the use of noise reduction tools has become prevalent.
So, to avoid the image appearing grainy, apply noise reduction selectively, focusing on smooth areas while preserving important details.
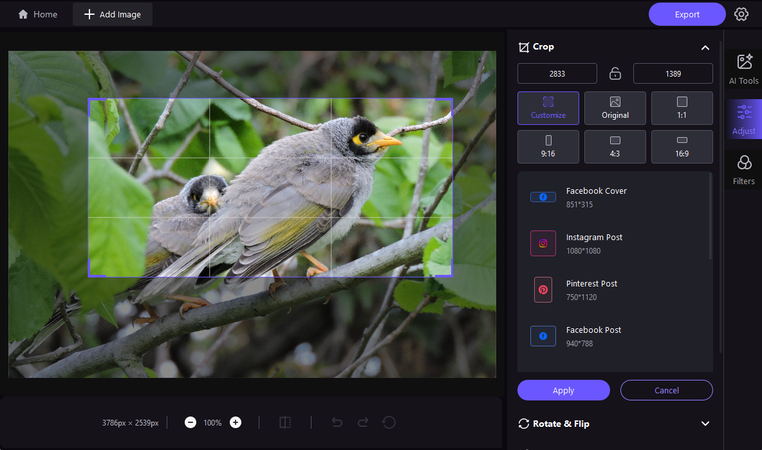
Cropping is something that most photography doesn't value much, but in wildlife photography, it's one of the most effective tools. It is because you can't always achieve the perfect composition in camera, and cropping gives you the luxury to remove distractions and frame the subject in a more compelling way. However, be mindful of maintaining sufficient resolution for your intended output.
Part 2. Best Photo Editing Software for Wildlife Photography
When it comes to choosing the best wildlife photo editing software, you'll find several professional options like Adobe Lightroom and Photoshop. Although these tools are of industry standards, using them requires substantial practice and time. However, if you are looking for a quick solution, an AI-powered photo editor like HitPaw FotorPea can come in handy.
Known for its advanced AI capabilities, this software combines cutting-edge technology with user-friendly interfaces, making it an excellent choice for both beginners and experienced photographers.
Must-have Reasons to Edit Wildlife Photo with HitPaw FotorPea
Reducing Excessive Noise
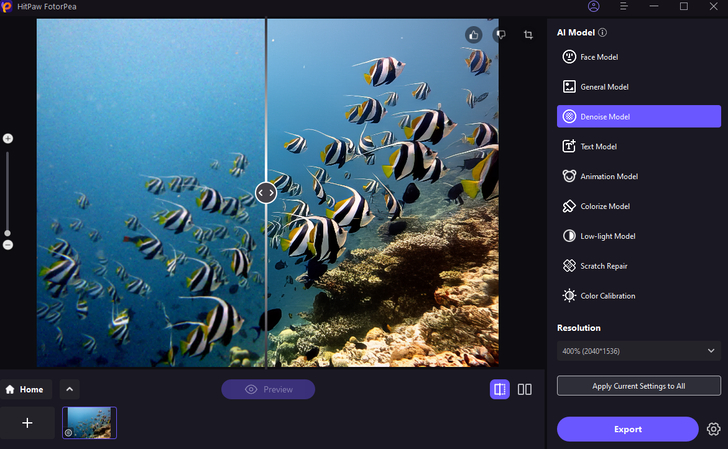
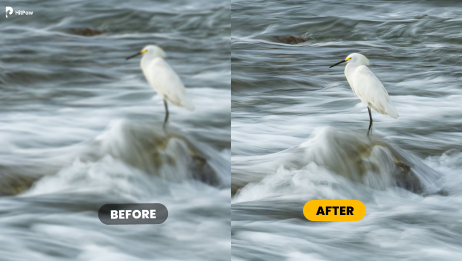
As already discussed, due to the unpredictable lighting conditions, wildlife photographers often experience noise in their images. However, now, you don't need to worry about this because Hitpaw FotorPea excels at reducing noise. It's powerful noise reduction tool smooths out the image without sacrificing the clarity or details, resulting in cleaner, sharper photos.
Processed by HitPaw
Sharpening Photo Details
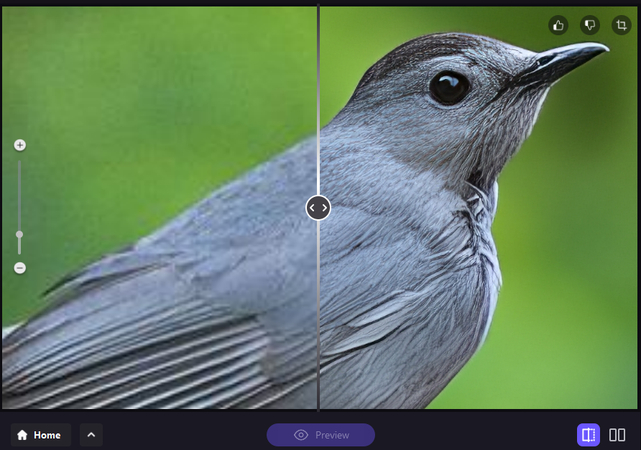
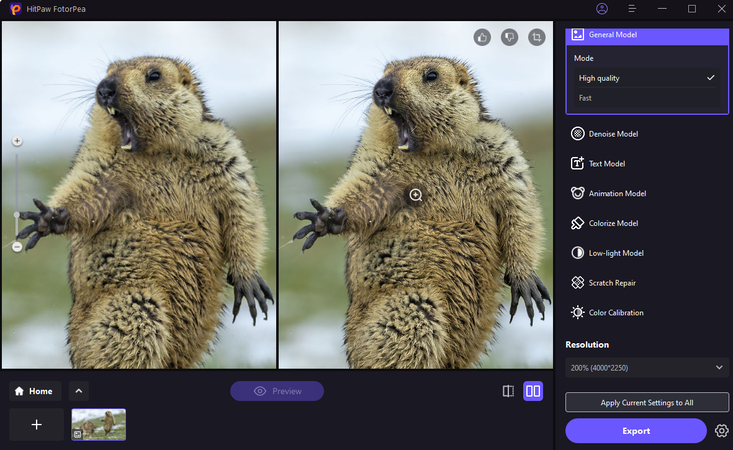
Sharpening is key to making your wildlife photos pop. Using its advanced AI algorithms, FotorPea enhances the image sharpness and brings out details in fur, feathers, and other textures. This tool is particularly useful when you are photographing animals at a distance and the subject is not as sharp as desired.
Processed by HitPaw
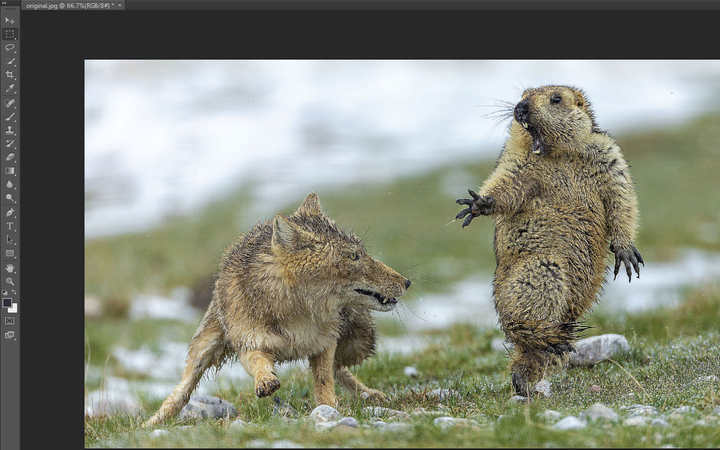
Processed by Photoshop
Recovering Megapixels after Cropping
Generally, cropping an image can result in a loss of quality. Especially if you are cropping out a significant portion of the photo, you will see the quality going down. However, with FotorPea at your disposal, you need not to worry because the AI upscaling feature can help recover the lost details with ease.
This is particularly beneficial for wildlife photographers who need to zoom in on distant subjects but still want to maintain the overall quality of the image.
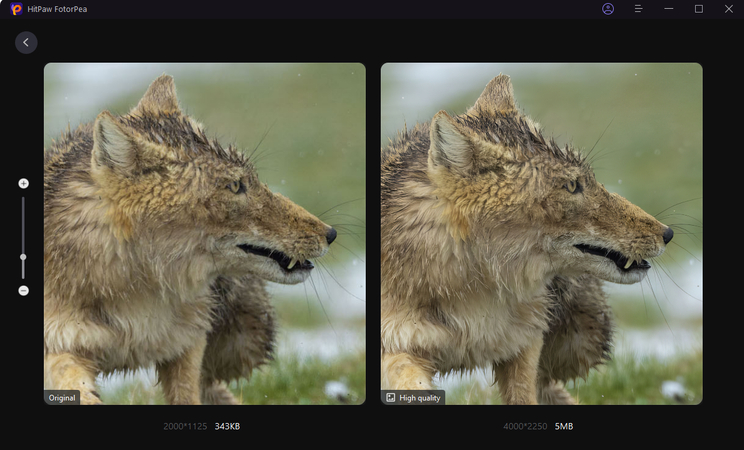
Processed by HitPaw
Video Tutorial for How to Make Wildlife Photo HD
Part 3. FAQs about Best Photo Editing Software for Wildlife
Q1. What is the best software for beginners to edit wildlife photography?
A1. If you are a beginner and looking for a quick and comprehensive editing solution, HitPaw FotorPea would come in handy.
Q2. How do I reduce noise in wildlife photos?
A2. To reduce noise in your wildlife photos, use noise reduction tools available in software like HitPaw FotorPea, Lightroom, or Photoshop.
Conclusion
Wildlife photo editing is something that you cannot ignore. It is the essential part of wildlife photography and is highly crucial to capturing the true beauty of nature. By mastering both basic adjustments like exposure and contrast and advanced techniques such as sharpening and noise reduction, you can enhance your wildlife photography dramatically.
So, if you are looking for a quick and comprehensive solution without requiring any skill, HitPaw FotorPea is something you can rely on. With its advanced AI algorithm, this powerful photo editing tool excels at reducing the noise, enhancing the overall image quality, and sharpening the details.


 HitPaw Univd (Video Converter)
 HitPaw VoicePea
  HitPaw VikPea (Video Enhancer)
Share this article:
Select the product rating:
Daniel Walker
Editor-in-Chief
My passion lies in bridging the gap between cutting-edge technology and everyday creativity. With years of hands-on experience, I create content that not only informs but inspires our audience to embrace digital tools confidently.
View all ArticlesLeave a Comment
Create your review for HitPaw articles