How to Resize Images on Printify Effectively: A Step-by-Step Guide
Printing is a brilliant platform for print-on-demand services, which helps creators design custom products effortlessly. However, if you want to access the high printing, you'll need to ensure that all the images are correctly created.
Unfortunately, incorrect image dimensions could lead to distorted designs or poor print quality. Luckily, you can resize the images, as this post introduces a detailed guide to help you how to resize images on Printify.
Part 1. How to Resize Images on Printify
Printify's products have unique image specifications depending on factors like product rate and print area. For instance, T-Shirts will require a 300 DPI resolution and print of 4500x5700 pixels for almost all the full coverage. If your photo doesn't meet the standards of Printify, you can rely upon the built-in feature of Printify to resize the images.
Here's how to resize my images on Printify via Printify.
Step 1: Navigate to Printify.com and then log in with your account. Select the product you wish to design, including the poster, phone case or t-shirt.
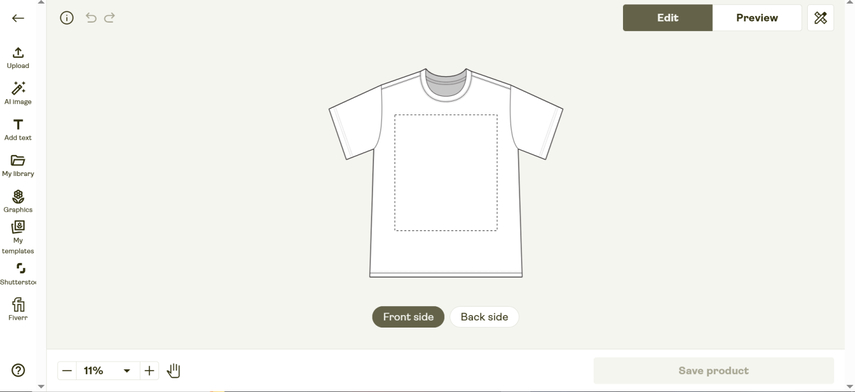
Step 2: Press on the ''Add Your Design'' icon to import the photo from your device. Then, you can use the built-in resizing tool of Printify to scale the images.
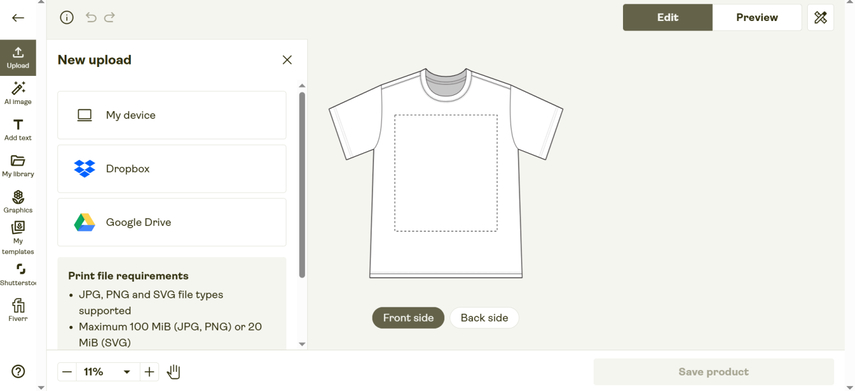
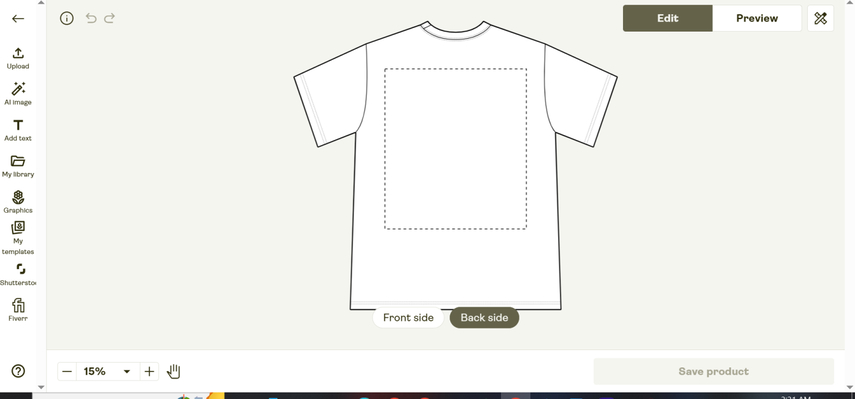
Step 3: Now, you can use the preview option to see how your design will look on the product.
Tap on the Save Product button after getting satisfied with the placement of the image.
Part 2. Best Alternative to Resize Images with HitPaw FotorPea
Although Printify is an appropriate way to resize images, it makes sense to go for the most reliable tool, and that's where HitPaw FotorPea comes into the discussion. It is an admirable image editing tool that, apart from enhancing the credentials of the images, also allows you to resize them by cropping the unnecessary parts of the photos.
The thing to ponder about HitPaw FotorPea is that it tends to maintain the original quality of photos while resizing them. Apart from cropping the images, HitPaw FotorPea also provides you with an opportunity to perform various other photo editing operations on them. Regardless of which type of image you wish to improve or resize, HitPaw FotorPea supports multiple image formats so that you won't face any issues uploading multiple formats of images.
Features
- An excellent way to resize the images with a few clicks
- Retains original image quality while resizing the images
- Works on Mac and Windows
- Supports batch processing, resizing multiple images simultaneously
- Explore the various gigantic image editing techniques
- No watermark was found in the resized images
- It depends upon the AI-powered technology
- Compatible with multiple image formats
- Simple user interface to make it effortless for newcomers
How to resize images through HitPaw FotorPea?
Step 1: After visiting the official website of HitPaw FotorPea and installing the software, you'll need to start it to begin resizing the images. Tap on the AI Photo Editor, and you will be taken to a window asking you to import the photo you wish to edit.
Since HitPaw FotorPea is compatible with the batch editor, importing and editing multiple images simultaneously is possible. HitPaw FotorPea also supports multiple image formats; you can import the images in several image formats.
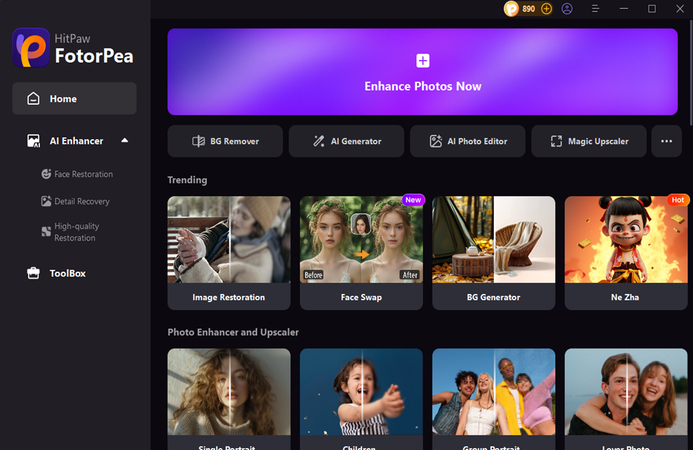
Step 2: Tap on the Adjust icon, which will display the cropping dimensions on the screen. You'll need to select the appropriate cropping dimensions. Luckily, HitPaw FotorPea also provides the recommended image sizes for each social media platform.
For instance, if you want to resize the images for the Facebook Cover, you can click on the Facebook Cover to access the most desired results
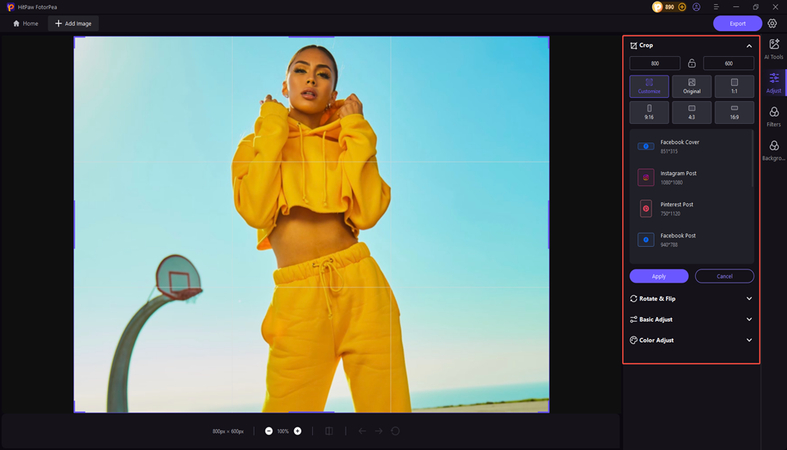
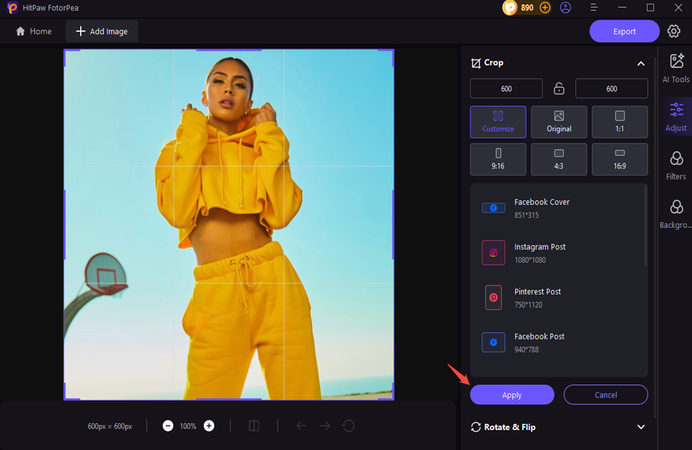
Step 3: After selecting the appropriate image dimensions, you'll need to tap the Apply button, which will help you implement all the changes to the images. Now, you can preview the credentials of the photos and check whether you're happy with the resized images. If you're satisfied with the appearance of the pictures, you can then tap on the Export icon to download the photos.
Part 3. FAQs on How to Resize Images on Printify
Q1. What is the best image size for Printify?
A1.
The recommended image size depends upon your product.
For instance, if you're designing a T-shirt, you'll need to maintain the image size of 4500x5400. Phone Cases require you to use the 1800x3200 size to cover all the edges appropriately. Posters must contain the 300 DPI containing the dimension’s bases upon the selected size option. Moreover, Mugs must contain the 2700x1050 to access the full wrap-around coverage.
Q2. Is PNG or JPG better for Printify?
A2. PNG is best for transparent backgrounds and could be an ideal format for items containing transparent elements. JPG, on the other hand, is perfect for full-color images without transparency and could be commonly used for posters and phone cases.
Part 4. 3 Extra Tips for Resizing Images on Printify
You can look at the three outstanding tips given below to resize images on Printify more appropriately and efficiently. You can look at the three outstanding tips given below to resize images on Printify more appropriately and efficiently.
1. Upscale Low-Resolution Images Safely
You must use AI tools like Let's Enhance or HitPaw FotorPea to boost the resolution of the images without losing quality. Next, you'll need to avoid enlarging the images manually as doing so could make the pictures blurred. Before resizing the images, you'll need to ensure that the image contains the maximum resolution.
2. Optimize for Specific Products
If you intend to resize the apparel, you must avoid placing the critical design elements near the collars or seams. You must also use the template safe zones of the Printify to ensure how it goes. People aiming to resize the images for the phone cases must extend the designs 1/8 inch beyond the edges, as doing so helps them prevent white borders.
For posters or Art prints, you must use the CMYK color mode to attain more accurate print colors, including the RGB that could make the product appear different on paper. Moreover, Canvas prints require a 2-inch bleed area for wrapping around the frame.
3. Check Color Consistency
Converting the RGB designs to CMYK can prevent mismatching in the prints. Testing and printing a sample product before going for full scale production is necessary to verify the color accuracy.
You must also customize the contrast and brightest to compensate for any color shifts in the printing process. Using the color swatches of Printify is also essential to compare the screen vs printed output.
Final Words
Resizing the products on Printify gives you the luxury of accessing the perfect products. We've written a step-by-step guide to help you know how to resize your images on Printify. You can also explore the three reliable and admiring tips to resize the pictures or Printify appropriately.
HitPaw FotorPea appears to be the most professional and advanced way to resize images. While resizing the images, HitPaw FotorPea tends to retain their overall quality. Since it supports batch processing, you'll be able to resize multiple images simultaneously.


 HitPaw Edimakor
 HitPaw VikPea (Video Enhancer)
 HitPaw Univd (Video Converter)

Share this article:
Select the product rating:
Daniel Walker
Editor-in-Chief
My passion lies in bridging the gap between cutting-edge technology and everyday creativity. With years of hands-on experience, I create content that not only informs but inspires our audience to embrace digital tools confidently.
View all ArticlesLeave a Comment
Create your review for HitPaw articles